Your cart is currently empty.
When we opened ellenJAY eight years ago, we were a dessert table business. We offered full dessert table setups with sweets, rentals and decor. We LOVED it, but we quickly learned that a blossoming bakery business required ALL our attention. Crafting full dessert tables became something we do only for our kiddos rather than the masses.
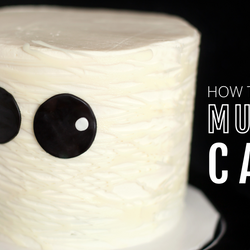
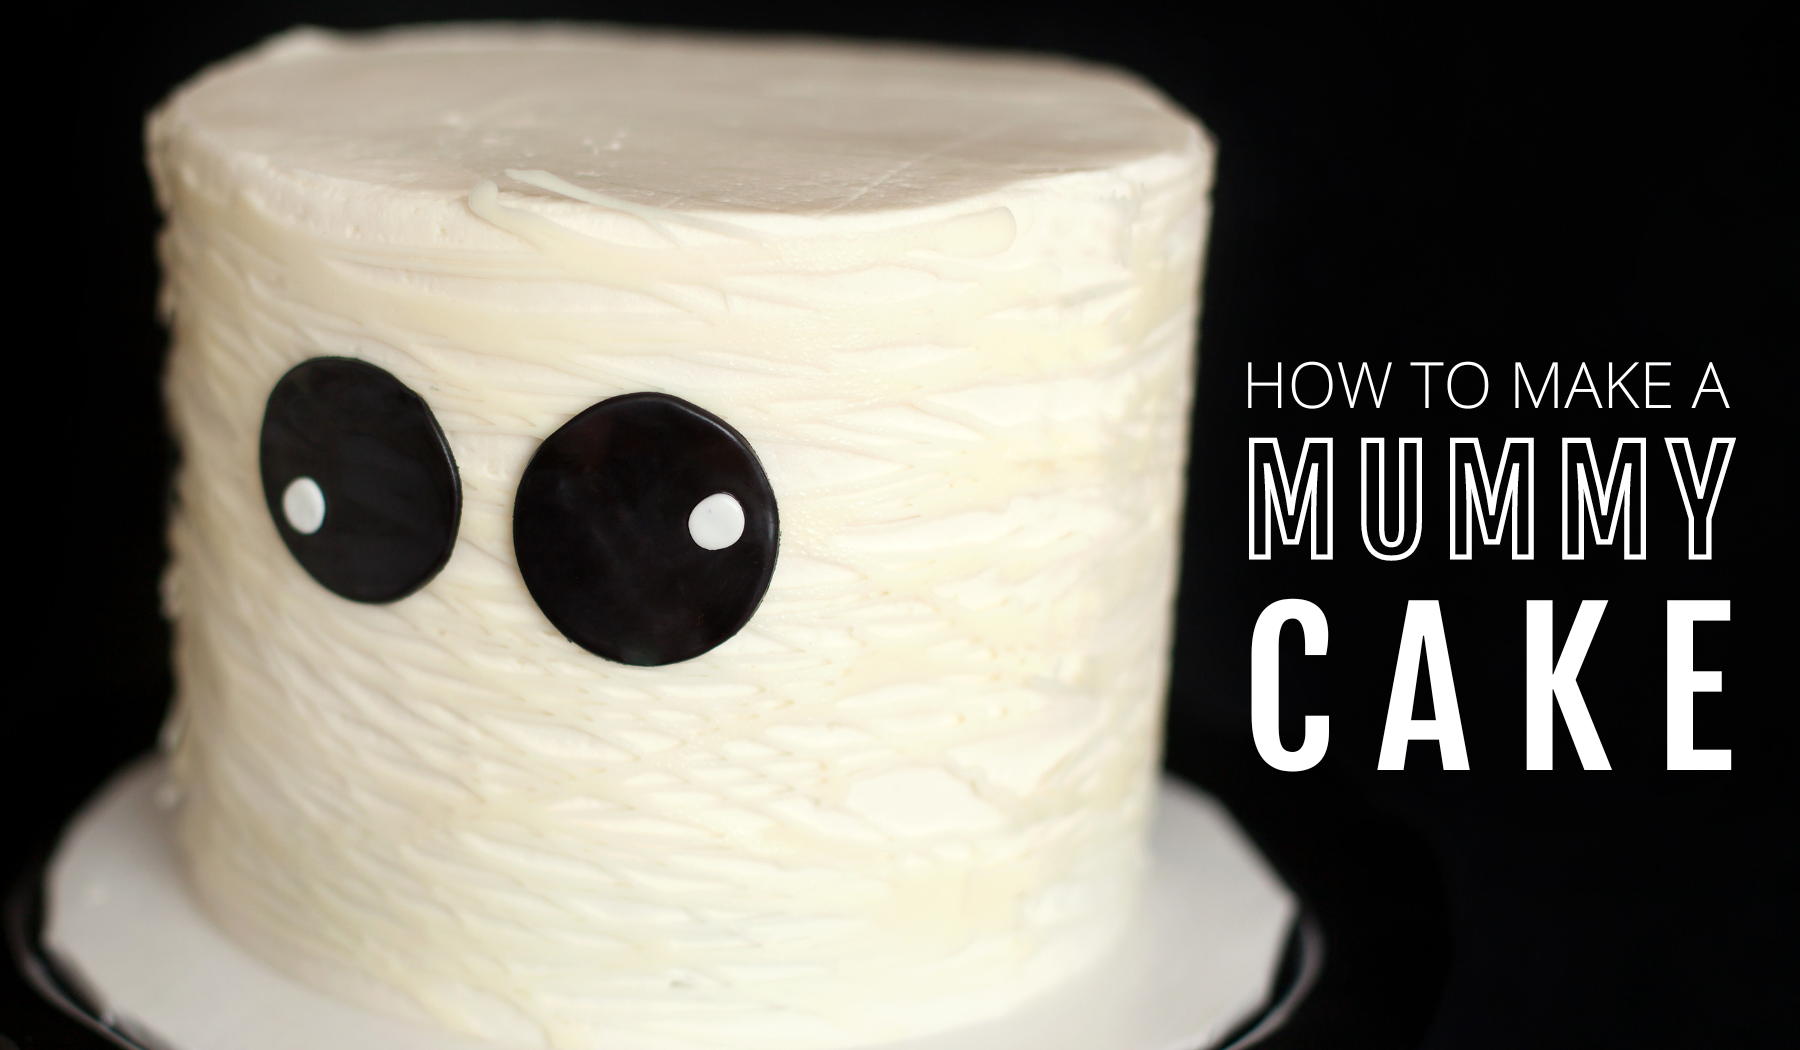
Since we've been missing our good ole dessert table days, we thought you would enjoy a full tutorial packed with easy recipes and how-tos so you can be the GHOSTESS WITH THE MOSTESS at your Halloween bash this year. On today's blog, we're teaching you how to decorate a Mummy Cake. PLUS! We'll share our very best dessert table tips so you can pull it together like a PRO!

SUPPLIES & INGREDIENTS
Box Cake Mix (bake as package directs)
2 Cans of Vanilla Frosting
Black Fondant
White Fondant
Rolling Pin
Small Circle Cookie Cutter (for the black of the eye)
Small Round Piping Tip (we used a size #8)
Bag of Marshmallows
BAKE THE CAKE
1. Bake cake mix per package directions in three 6 inch round pans.
2. Allow cake to cool completely then cover each layer in plastic wrap and place in fridge to chill for a few hours or overnight.⠀
STACKING + CRUMB COATING
1. Trim the domed top off of each cake layer with a serrated knife so they are completely level.
2. Place your cardboard cake round on the cake turntable and place a small amount of the white buttercream on the board this will be your glue for your cake.
3. Add your first cake layer with the bottom side touching the board and then spread some buttercream onto the layer and smooth around using the backside of the offset spatula.
4 Stack a second layer on top face down so the bottom side of the cake is facing upward and spread more icing over this layer.
5. Place the final cake layer on top face down and add a big dollop of icing to the top of the cake and begin spreading it around with the back side of your spatula until it starts falling over the sides of the cake.
6. Get more icing and go around the sides of the cake using the back of your spatula while holding it vertically to cover the entire cake in a smooth layer of icing. This is known as the "crumb coat."
7. Chill your iced cake for about 20 minutes for it to set up before adding a final coat of smooth icing. Chill cake for another 20 minutes to setup one last time before adding your mummy marshmallow webbing and fondant eyes.
MARSHMALLOW WEB + MUMMY EYES
1. Place marshmallows in a microwave safe bowl and heat for approximately 30 seconds.
2. Stir marshmallows continually until they are smooth and cool enough for you to touch. Be very careful not to get burned.
3. Using clean hands, pickup a small amount of melted marshmallow and stretch it until it looks thin and web-like.
4. Carefully wrap and overlap your stretched marshmallow pieces around the cake. Make sure to leave some of your icing peaking through creating a messy mummy look.
5. Roll out a small amount of black fondant. Cut out two eyes using your small round cookie cutter. Place eyes on cake with a small dab of icing.
6. Roll out a small amount of white fondant. Cut out two pupils using your round piping tip. Place whites on black eyes to with a small dab of icing to create a "googly eye" look.
Your mummy cake is officially ready to party!! Now, it's time to bring your whole Halloween sweet display together with our favorite dessert table tips.

TOP 5 DESSERT TABLE TIPS
1. Small dessert displays pack a BIG punch! We know its super easy to get overwhelmed when you're planning an entire party. Start by keeping the sweets contained on a smaller table like a buffet table. Your dessert display will quickly look full without needing a ton of additional filler.
2. Cake box mixes are your friend! While we adore made-from-scratch cakes, you can absolutely use a box mix to save time when you're creating several desserts for your party. They're yummy, take less time and are sure to please!
3. Fabric scraps are the BEST. Rather than investing in expensive new linens, hit the fabric store to grab a few yards that match your color scheme. We used black with white polka dots and a white gauzy material on our mummy dessert table. We created a runner by tucking the raw ends under instead of sewing. You can iron the ends under if you're feeling fancy.
4. Display your sweets at different heights to create visual interest. We like to mix and match platters, cake pedestals and glass jars. We also sometimes use our fabric swatches to hide boxes used to create different levels.
5. Your friends LOVE leftovers. Be sure to have cute little to-go bags or boxes on hand to send your guests home with leftover treats. They'll be delighted and you won't have to eat cookies and cake for the next month...unless you want to... which is totally fine, lol.
You're officially ready to create you very own Mummy Dessert Table. You may want to take a peek back at our last 3 blog posts (SEE LINKS BELOW) to gather all the easy recipes and tutorials to create a mummy masterpiece. Your kiddos and friends will LOVE creating memories at your Halloween Bash this year.
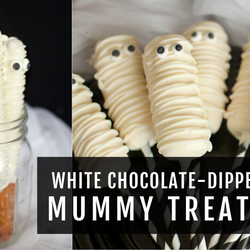
WHITE CHOCOLATE-DIPPED MUMMY TREATS
Planning to create a Mummy Dessert table? Tag us @ellenjaysweets so we can see the magic you create this Halloween!
ALL THE BEST!
Lauren, Jennifer and Team ellenJAY

