Your cart is currently empty.
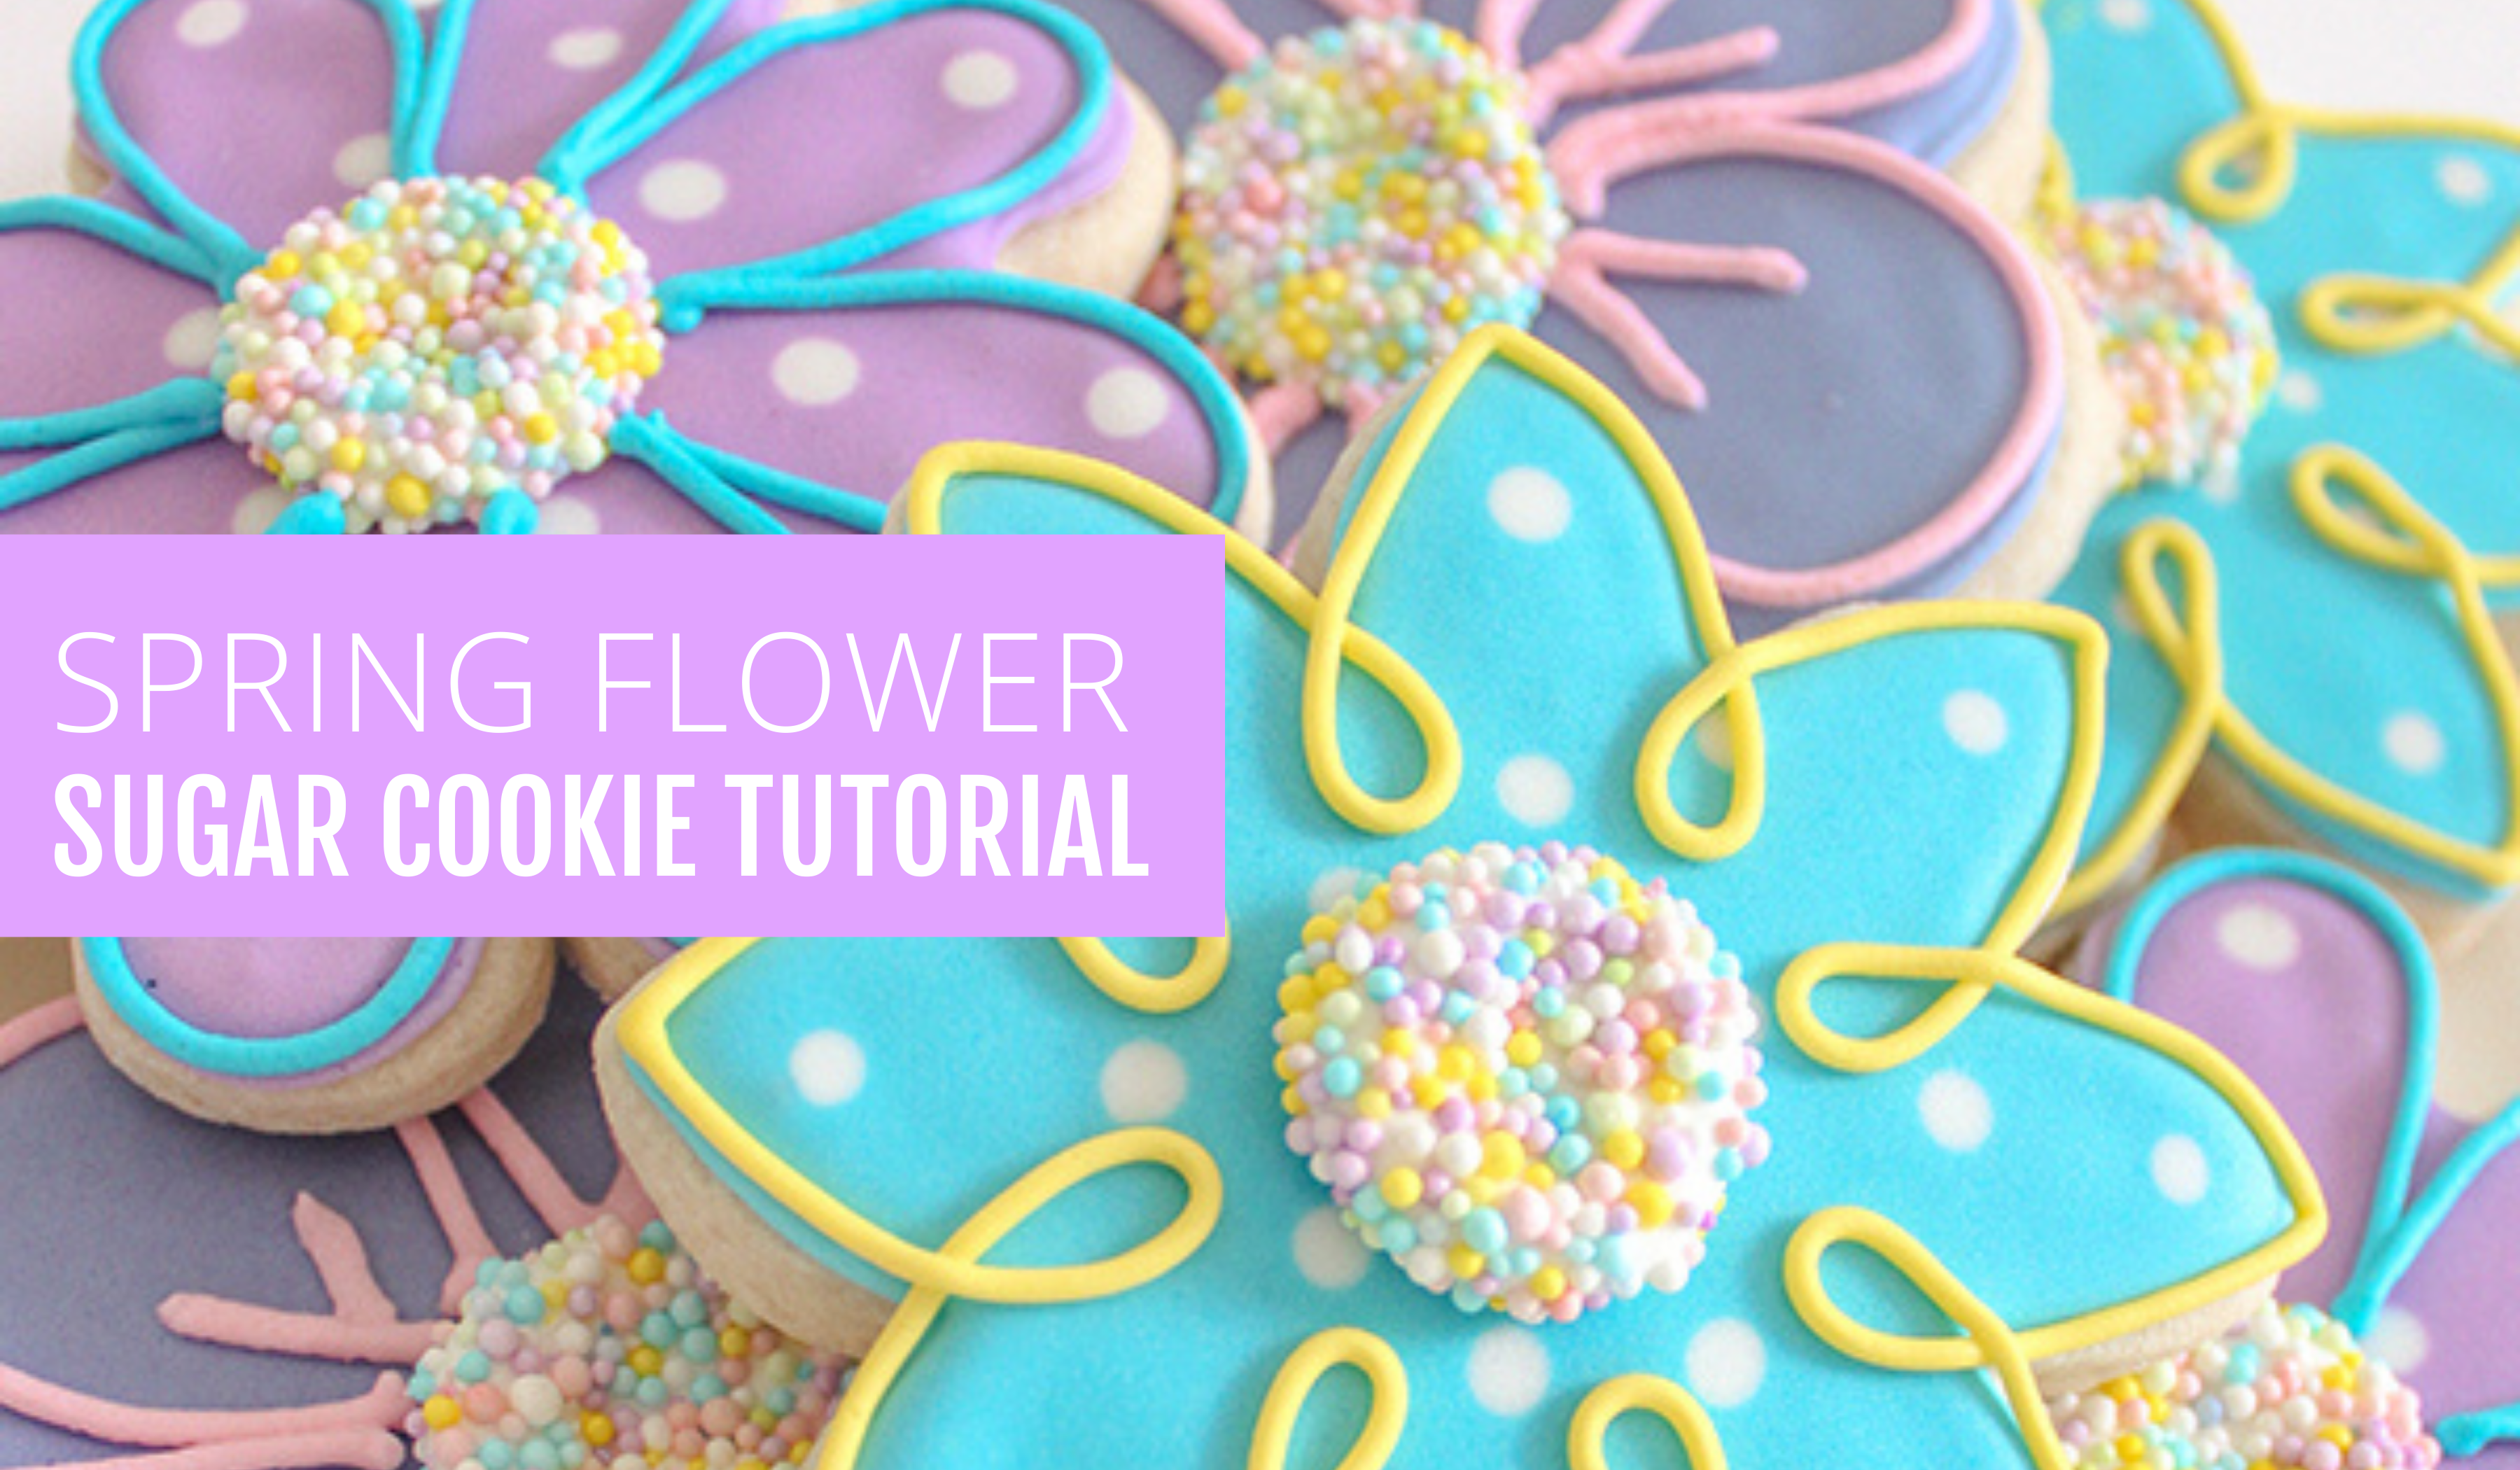
SPRING into your brightest apron, because today's tutorial will make your daisy!! Many before rose to the occasion, and it's time for you to BLOOM too!!
Alright, bud! Are you ready to step up your sugar cookie decorating? In this intermediate cookie tutorial, we'll teach you how to take bright Spring flower cookies to the next level! We'll introduce you to "20 second rule" royal icing and "wet on wet" royal icing polka dots.

SUPPLIES
- Flower Shaped Cookie Cutters
- Rolling Pin
- Soft gel paste food color in Violet, Sky Blue, Deep Pink, Yellow
- 5 Piping Bags
- 5 Couplers
- 5 Wilton Tip #2
- 4 Flood Bottles
- Toothpicks
- Pastel Spring Nonpareils
- Baking Tray
- Parchment Paper
INSTRUCTIONS
Make a batch of our sugar cookie dough or use your favorite sugar cookie dough. Roll dough to 1/4” thick.

Cut out flower shapes with assorted cookie cutters (8 per shape). Place cookies on prepared baking sheet so they are evenly spaced and alternating about 1 inch apart. Bake per recipe instructions.

Make a batch of our favorite royal icing. Divide royal icing evenly into 4 containers. Tint 3 of the containers to be sky blue, periwinkle and lavender colors. Leave the last container as white. Make piping and flood consistency icing (per recipe instructions) for the sky blue, periwinkle and lavender colors. Place the piping consistency in piping bags fitted with a tip #2. Place the flood icing in squeeze bottles.

Decide which cookie shape will be paired with each icing color.
With the last half of the remaining icing divide this in two and make light pink and yellow piping consistency for final flower details.

From the last container of icing, prepare half of the remaining white icing for the nonpareil flower centers using the “20-second rule." To create "20-second" royal icing, stir in a little bit of water at a time until the icing reaches a consistency where it take approximately 20 seconds for the icing to reabsorb into itself and become "flat" across the top once you've stirred it. PRO TIP: "20-second" royal icing should be thinner than toothpaste but thicker than shampoo.
Once your royal icing has reaching a "20-second" consistency, pour the icing into a squeeze bottle. This white will also be used for adding polka dots to the cookies.

Squeeze icing in circles on parchment paper.

Sprinkle with pastel nonpareils and let dry overnight.

Place sprinkles in plastic container to use on cookies or save for the future.

Trace the outline shape of the cookie with piping consistency icings.

Use the flood consistency icings to fill in the cookies.

Now, you're ready to try our favorite "wet on wet" icing technique: POLKA DOTS! While the flood icing is still wet, add white polka dots by gently squeezing white flood bottle overtop of the flooded cookies.

Allow the cookies to dry overnight before adding all the final details. Once cookies have dried add the round nonpareil flower centers by using a dab of royal icing from the piping bag. Add final piped flower borders on all 3 cookie designs.

Once icing is completely dry, cookies can be stacked or individually packaged. Storing in an air tight container keeps them fresh for several days. Heat sealing in individual cello bag keeps them fresh even longer.
We would love to see your cookies BLOOMING this spring. Tag us @ellenjaysweets on Instagram so we can see your edible works of art!
All the best!
Lauren, Jennifer & Team ellenJAY

