Your cart is currently empty.
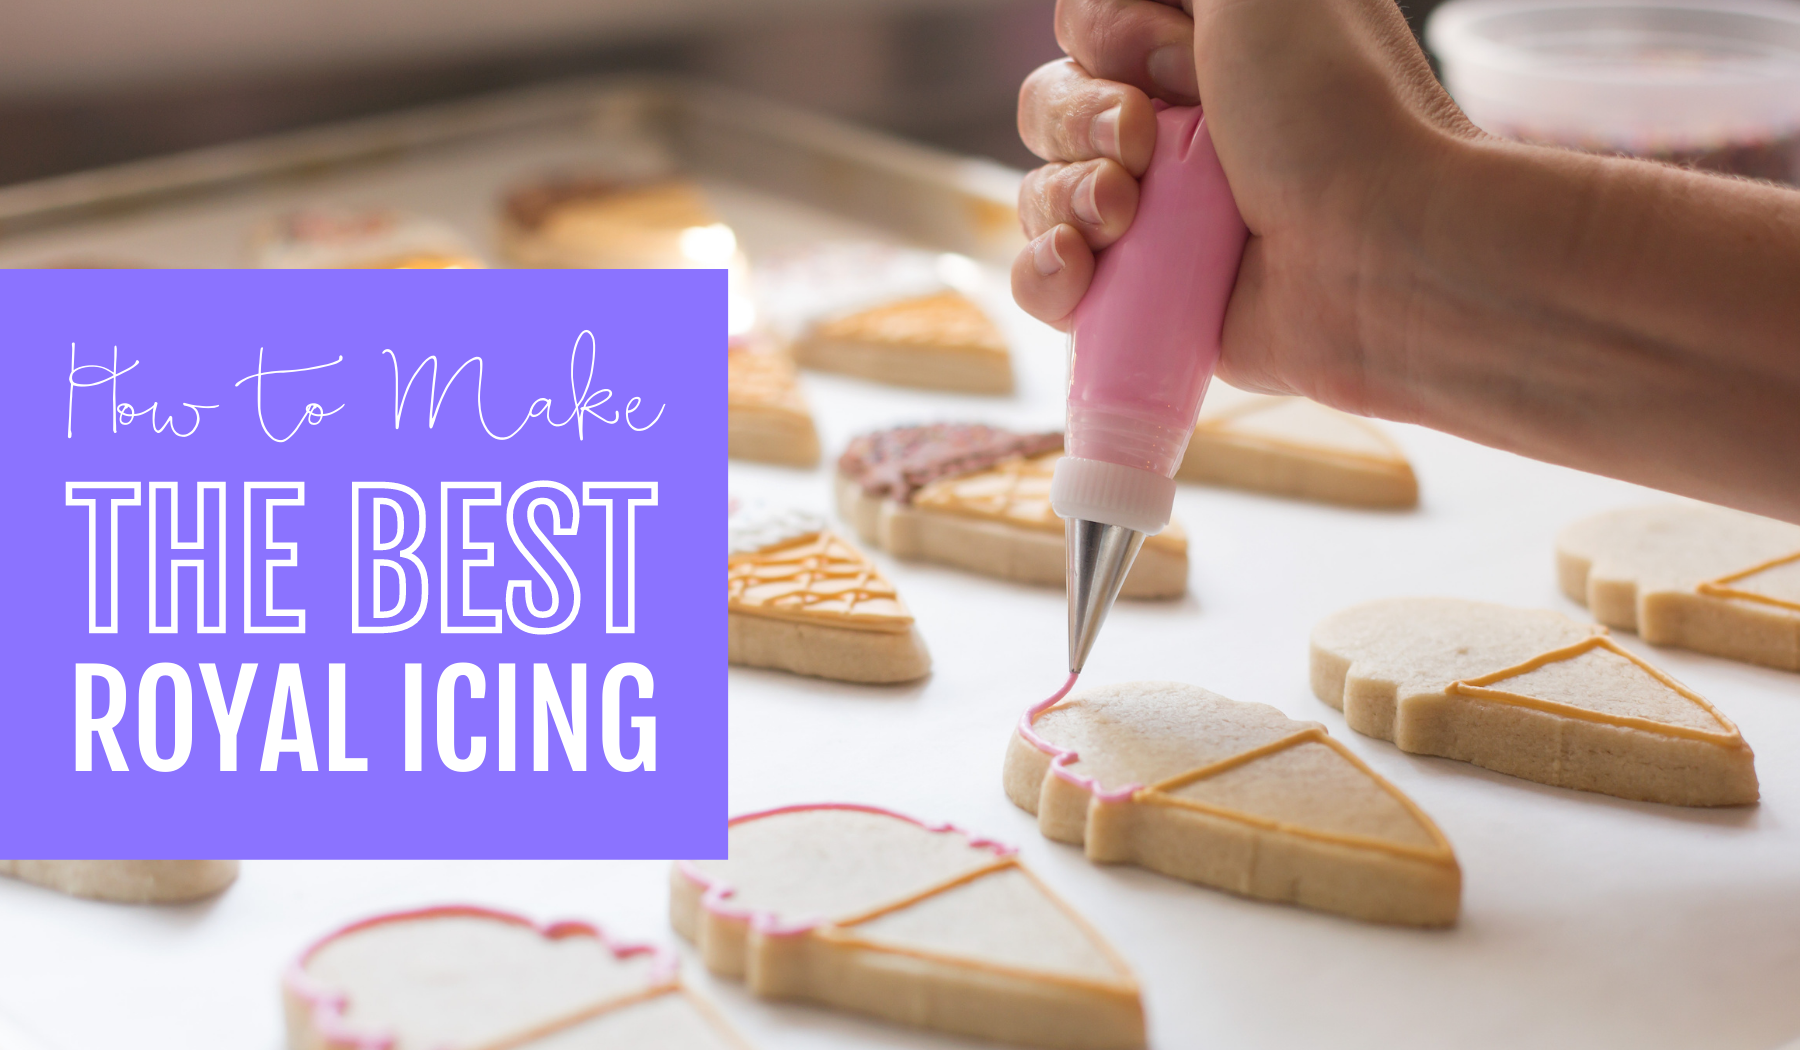
Have you ever wondered what makes sugar cookies decorated with royal icing so very special?
After you mix your first batch of royal icing, you'll learn a LOT of work goes into each and every hand-decorated sugar cookie! The process is truly a labor of love that starts with prepping the dough and cutting out the shapes using our favorite SUGAR COOKIE DOUGH RECIPE. Mixing royal icing colors of various consistencies will make you feel like a cookie scientist before you finally get to the FUN part, decorating the cookies!
This royal icing recipe is the finishing touch that elevates a classic, buttery sugar cookie from a yummy treat to a delicious work of art. With practice, you'll be whipping up your very own beautiful cookies in no time!

SUPPLIES
Couplers
Piping Bags
Plastic Condiment Squeeze Bottles (aka: Flood Bottles)
Gel Colors (Wilton or Americolor)
Toothpicks
Sprinkles
Stand Mixer w/ bowl and paddle attachment (a hand held mixer will work too!)

INGREDIENTS
4 cups confectioners’ sugar
1/4 cup meringue powder
1/2 cup water
INSTRUCTIONS
1. In the bowl of a stand mixer, combine confectioners’ sugar and meringue powder and mix on low.
2. Add water and beat on medium speed for 4 minutes until icing is fluffy and stiff peaks form.
3. Place icing in plastic airtight containers until ready to use.
4. Portion out icing into separate containers, using 1 container for each color you plan to use. It is best to work with about ½ cup to 1 cup of icing at a time depending on how much you need per color.
5. Use a toothpick and a small amount of gel coloring to tint icing.
6. To pipe details or outlines on cookies, place a small amount of icing in piping bag fitted with No. 2 round tip. Gently squeeze icing and trace the outline of your cookie or pipe snowflake details.
7. To flood cookies, thin the icing with 1 teaspoon water at a time. Stir icing with small spatula and continue to add water as necessary to reach desired flooding consistency. If you lift your spatula and the icing drips and falls back into itself after about 10 seconds, it is a good consistency.

ROYAL ICING TIPS & TRICKS
ROYAL ICING CHEAT SHEET
PIPING CONSISTENCY = toothpaste
Piping icing should be thick but flow easily like toothpaste.
FLOOD CONSISTENCY = shampoo
Piping icing should be thinned down enough to easily fill you cookie, but still have enough body and thickness to stay in place and not overflow off the cookie.
PLASTIC WRAP TRICK
To save time and money, don't put your icing directly inside your piping bag. Instead, place about 1/4 cups of piping icing on a sheet of plastic wrap. Roll it up so it sealed with two long "tails." Then, thread the icing pouch through your piping bag. Snip the plastic tail and add your piping tip.
ROYAL ICING SHELF LIFE
Royal icing kept airtight at room temperature is good up to 48 hours. Keep your piping consistency royal icing fresh up to 4 days in the fridge. Flood (aka: thinned down) icing should be used within 24 hours.
TOOTHPICKS ARE YOUR FRIEND
Royal icing dries VERY quickly! If your piping tip dries shut, us a toothpick to reopen the tip so icing flows smoothly again. Toothpicks are also perfect to pop bubbles in your icing so your cookies have a smooth finish.

By now, we know you're BEYOND ready to whip up your very on batch of sugar cookies decorated with fresh royal icing. Have a blast learning how to create artwork on cookies! We can't wait to see what you bake! Tag us @ellenjaysweets on Instagram so we can give you a virtual HIGH FIVE!!
All the Best,
Lauren, Jennifer & Team ellenJAY

